




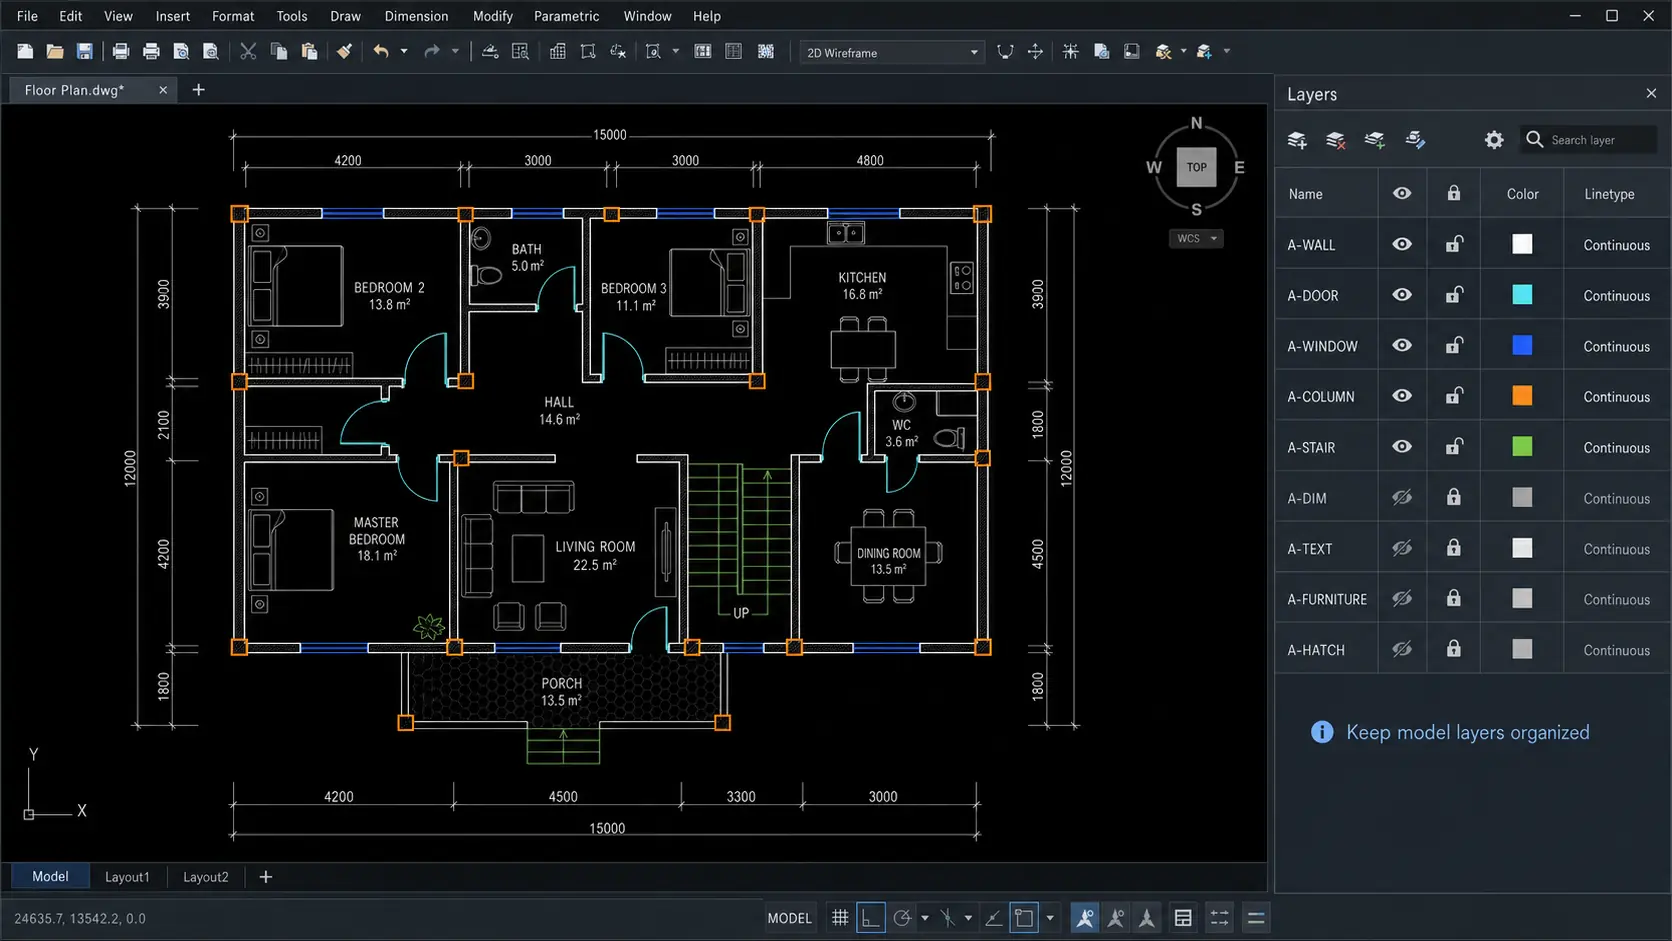
The reliable 1-click 2D-to-3D workflow
LizArk can turn a prepared DWG or DXF floor plan into 3D with one Generate 3D command. The one-click result depends on correct units, clean connected linework, and CAD layers mapped to the right LizArk roles.
Do not run Generate 3D immediately after importing an unknown file. Complete the mapping and Preflight steps below first; they protect the model from wrong scale, missing walls, duplicate edges, gaps, and misclassified openings.
1. Import the DWG or DXF
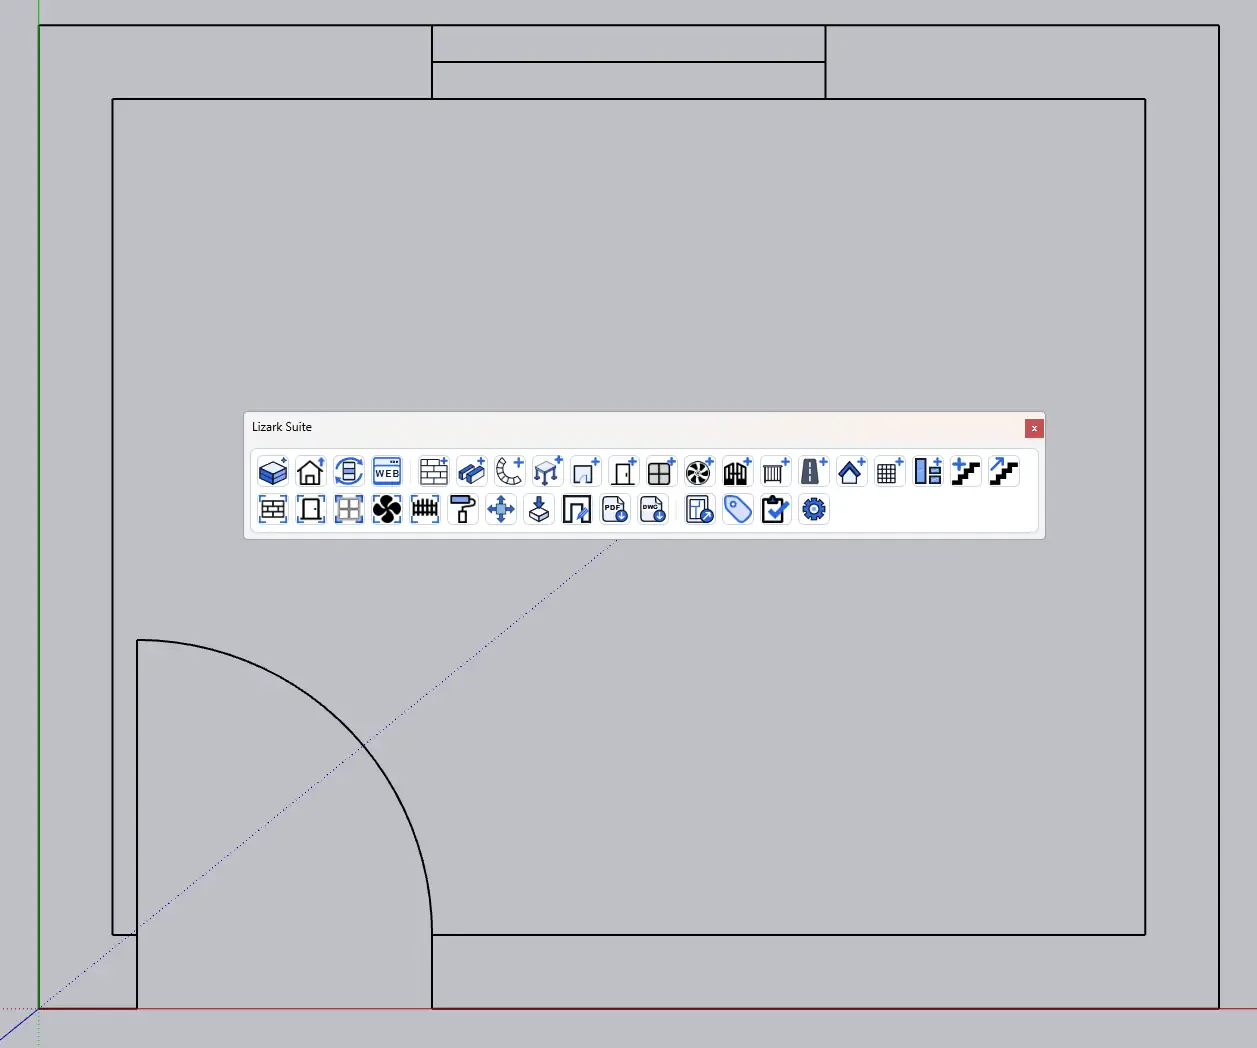
- Open Import DWG/DXF from the LizArk toolbar.
- Choose the source file and set its real drawing units. Use Model Units only when the file is known to match the SketchUp model.
- For DXF, scan layers before import and import only the layers needed for the building model.
- Use curve normalization for DXF arcs or splines when their segmentation is too coarse or too dense.
- Keep Wrap import group enabled for a recoverable import unless your project requires another structure.
- After import, confirm a known dimension with SketchUp Tape Measure before continuing.
2. Map CAD layers to LizArk roles
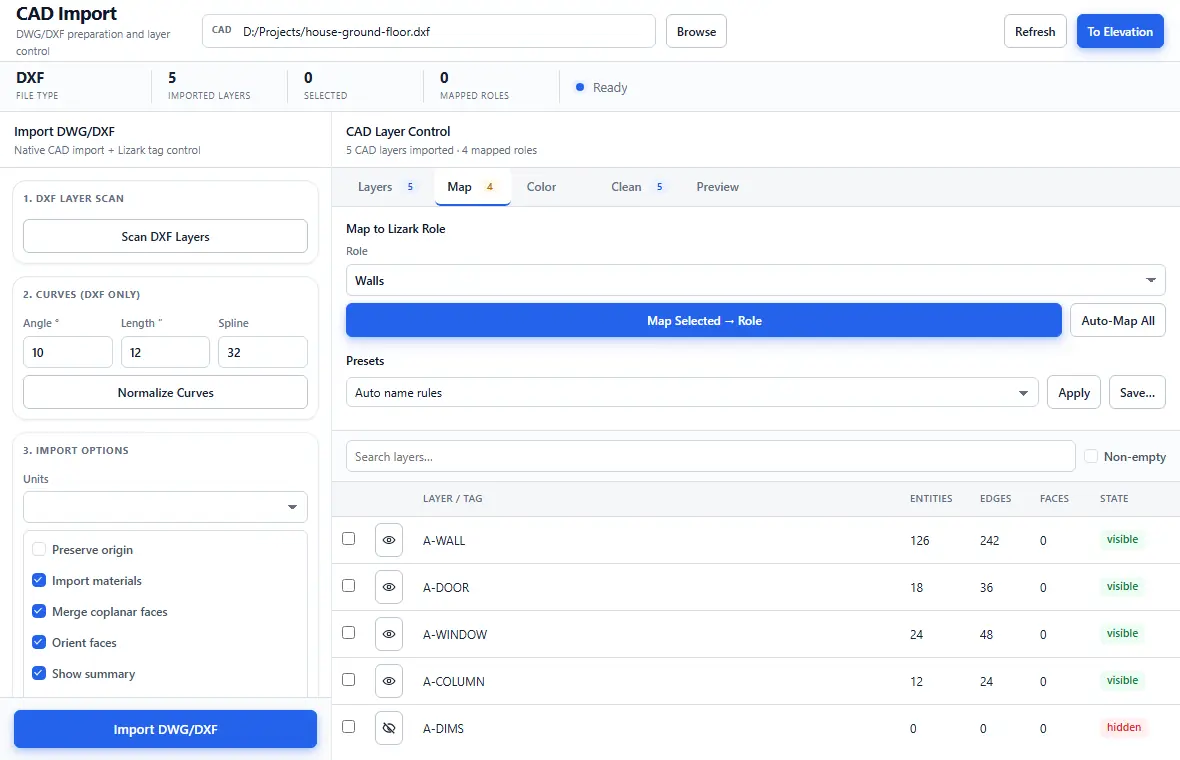
Open the Map tab in CAD Layer Control. Auto-Map All uses layer-name rules, but review every non-empty layer before generation.
- Map wall linework to walls or compound walls.
- Map opening information to doors, windows, ventilators, or gates.
- Map structural linework to columns, beams, or stairs where applicable.
- Use a saved mapping preset when the same CAD standard is repeated across projects.
- Leave dimensions, text, furniture, hatches, and presentation layers unmapped or hidden.
3. Clean and preview the plan
- Use Preview Duplicates before Remove Duplicates.
- Use Find Overlaps to locate doubled or partially overlapping wall lines.
- Use Find Gaps and Repair Gaps with a conservative threshold.
- Flatten nested import groups only when LizArk cannot read the intended linework in its current structure.
- Review the readiness checklist and clear temporary preview markers after inspection.
4. Confirm generation settings
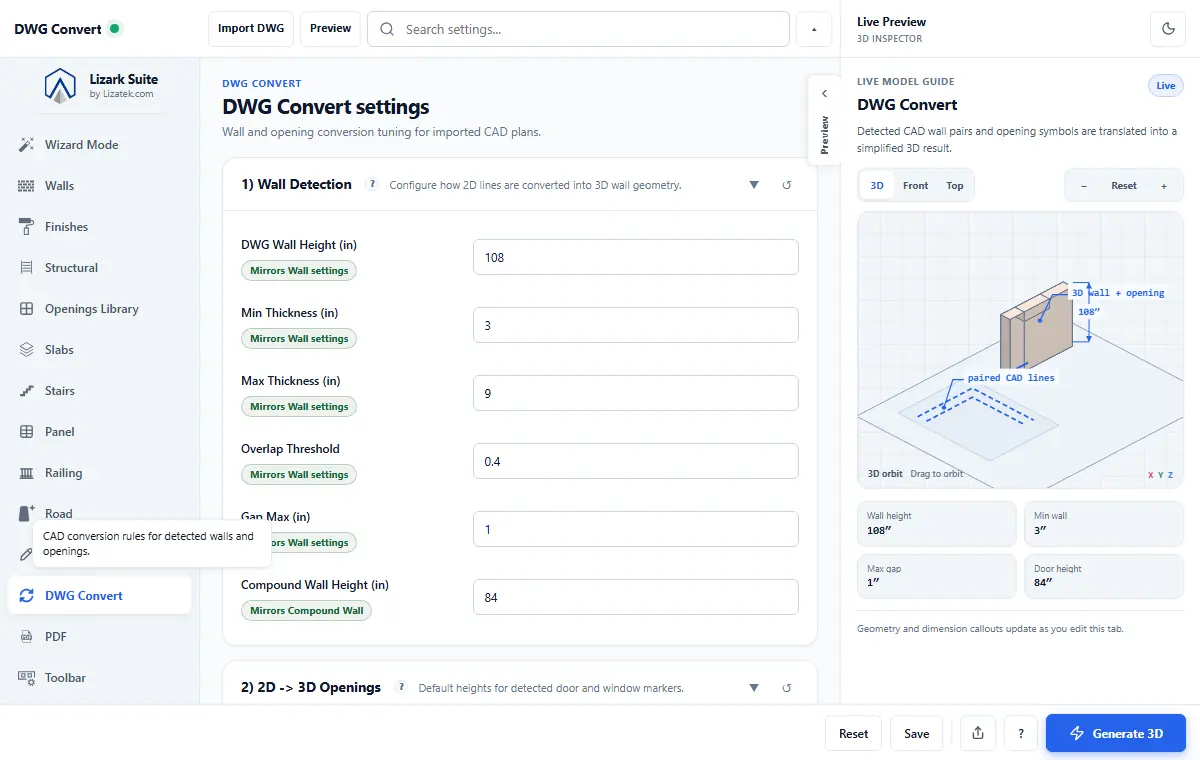
- Set wall thickness and height defaults.
- Confirm door, window, ventilator, gate, sill, and lintel settings.
- Review slab, roof, structural, finish, and level settings needed by this model.
- Save the settings before the first full generation.
5. Run Preflight
Run Preflight Check from the toolbar. It reports preparation problems and can apply safe automatic fixes. Reinspect any issue that changes authored CAD geometry before accepting a repair.
A clean Preflight is the gate between import preparation and the one-click build.
6. Click Generate 3D
Click Generate 3D to run the full wall, join, opening, and building-generation pipeline. Inspect the generated walls and openings before applying finishes.
For later local CAD corrections, select the edited zone and use Incremental Rebuild. Use a full Generate 3D run when the plan structure, levels, or global settings changed.
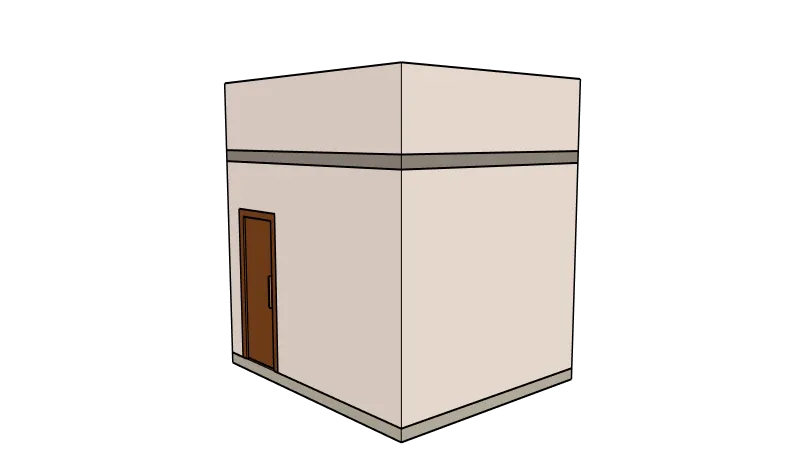
Interactive exported model
Explore the LizArk result in 3D
Drag to orbit, scroll to zoom, and switch generated building systems on or off.
This is a working browser demo exported from LizArk to GLB. The downloaded DXF is the privacy-safe source plan used for the workflow.
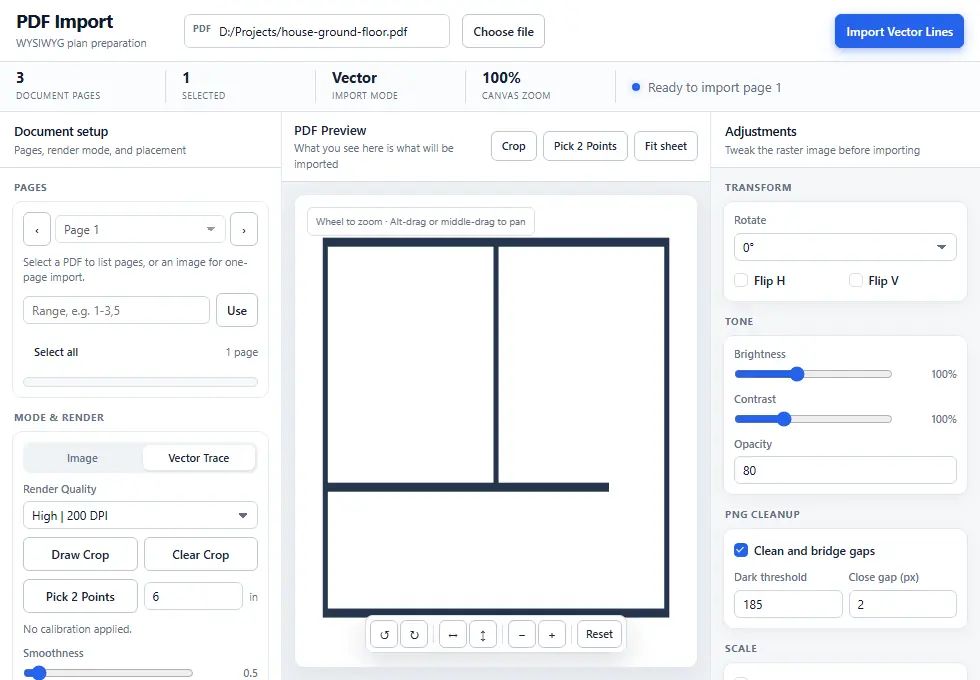
PDF and image plans are a trace workflow
A scanned PDF, PNG, or JPG is not semantic CAD linework, so it cannot be classified into walls and openings by layer name. Import it as a scaled, locked reference and trace the required geometry with Web Draw or LizArk Trace tools.
A vector PDF can preserve line segments, but it still needs scale verification and usable organization before Generate 3D. Treat it as plan input, not an automatic guarantee of a ready model.
Common questions
1-Click DWG to 3D FAQs
Direct answers about preparing CAD plans, generating editable SketchUp geometry, and reviewing the exported model.
Can LizArk convert a DWG or DXF floor plan to 3D in one click?
Yes. After the drawing units are verified, the required CAD layers are mapped, and Preflight passes, Generate 3D creates the selected walls, openings, slabs, roof, parapets, skirting, and other enabled building systems in SketchUp.
Which CAD layers are required for automatic 3D generation?
At minimum, map clean wall linework to a LizArk wall role and map door, window, ventilator, or gate geometry to the matching opening roles. Dimensions, furniture, text, hatches, and presentation layers should remain hidden or unmapped.
Why can wall generation fail after importing a DXF?
The most common causes are incorrect drawing units, disconnected or duplicated wall lines, gaps, overlapping geometry, or layers mapped to the wrong LizArk roles. Verify a known dimension, repair the plan conservatively, and run Preflight before Generate 3D.
Is the generated LizArk model editable in SketchUp?
Yes. LizArk creates editable SketchUp geometry organized into building systems such as walls, doors, windows, roof, parapets, skirting, sunshades, and flooring. The browser GLB is a review export, while the SketchUp model remains the editable source.
Can I preview a LizArk model in a web browser?
Yes. Export the generated model to GLB for an interactive browser preview with orbit, zoom, camera views, and component visibility controls. The live viewer on this page demonstrates that workflow.
Can LizArk generate 3D directly from a PDF or image?
A scanned PDF, PNG, or JPG must first be scaled and traced because it does not contain semantic CAD layers. A vector PDF may preserve linework, but its scale and organization still need verification before Generate 3D.
