
What Compound Wall does
Compound Wall builds multi-leaf wall assemblies - such as brick-cavity-brick, concrete-insulation-finish, or any custom layered composition - in a single chained path. Each leaf is generated as separate geometry so you can assign distinct materials, hide individual layers, or schedule volumes independently.
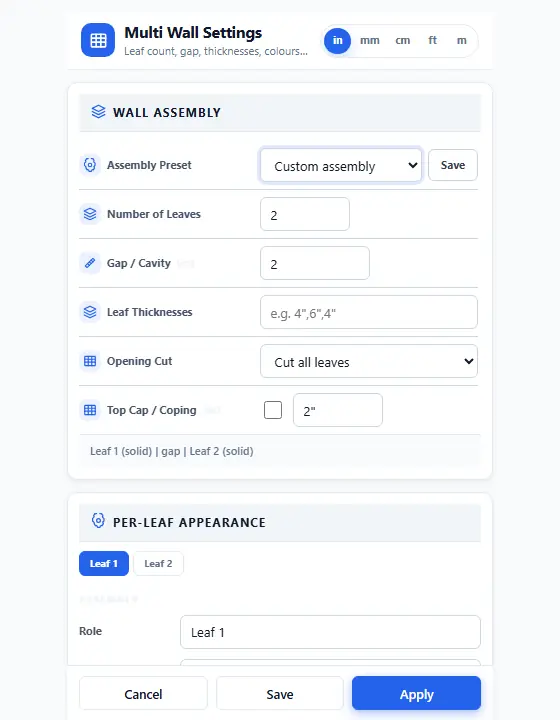
Layered workflow
- Open the Compound Wall dialog and add the leaves you need.
- Set thickness and material for each leaf. Add air gaps or insulation layers as needed.
- Click a start point and move the cursor to trace the wall path, just like Draw Wall.
- Chain segments and close rooms the same way as single-leaf walls.
Dialog controls
The dialog lists each leaf from outside to inside. You can insert, remove, or reorder layers, set per-leaf thickness, and pick materials from the project library.
Total thickness updates live as you edit leaves. The tool uses this total for chaining, snapping, and T-junctions.
Tips
Save frequently used compound stacks as presets so you can reuse them across projects.
Compound walls support jump openings: the tool cuts the correct opening through every leaf when you place a door or window.
Use Tag Manager to assign each leaf to a dedicated tag if you need to control visibility later.
