
What Room Placement does
Room Placement builds complete room geometry rather than a label stamp. It can generate walls, floor, roof, skirting, doors, windows, foundations, ceilings, fixtures, grids, north markers, and optional site or setback boundaries from one settings dialog.
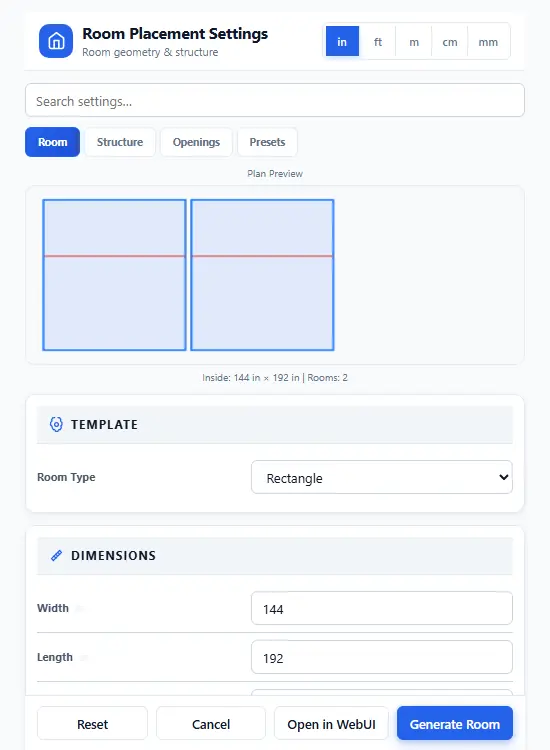
Placement workflow
- Configure the room width and length as inside or outside dimensions.
- Choose a rectangle or supported room template, plus a one-to-four-room layout and shared-wall behavior.
- Click the first corner. Move into the desired quadrant and click again; exact configured dimensions stay axis-aligned.
- After the first corner, press Enter to place using the configured width and length.
Controls
Tab opens or toggles Room Settings. Enter places the configured room after the first corner is set. Esc clears the preview, closes the dialog, and exits.
The current placement tool is axis-aligned; it does not use arrow-key rotation or typed angle controls.
Requirements
Use two distinct corners with positive width and length. For rectangular layouts, configured doors and windows are cut and generated automatically; non-rectangular templates may require opening tools after placement.
