
Trace Wall in SketchUp: from a corner to a closed plan
Trace Wall creates paired 2D edges at your chosen thickness. These actual SketchUp 2026 captures show the same top-view camera throughout, using Lizark 1.0.27. Continue from each endpoint to form the wall loop, then prepare openings before Generate 3D.
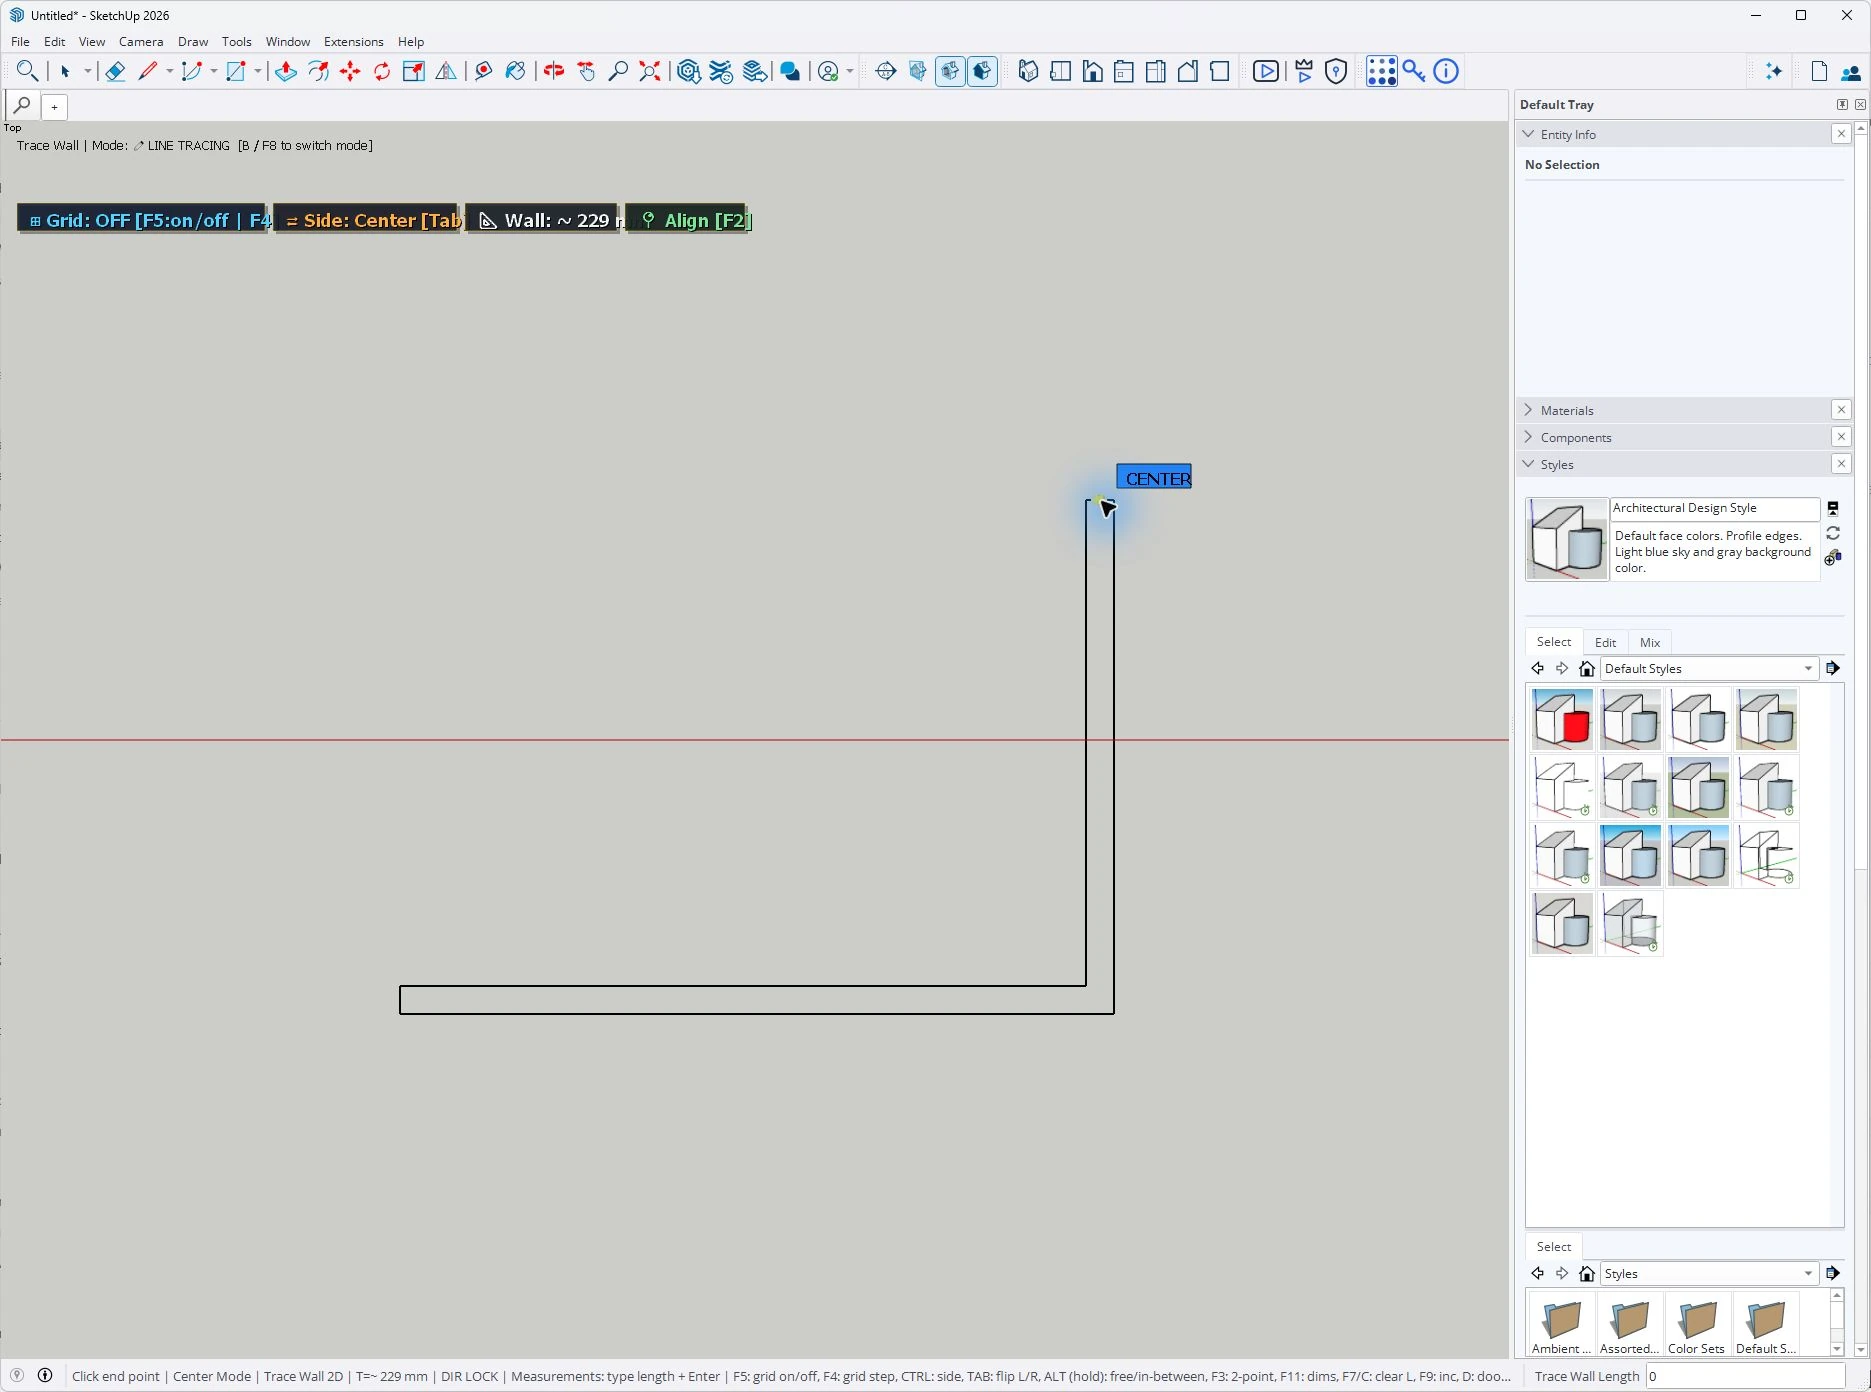
1. Continue the paired wall lines through a corner
- The HUD shows Center alignment and the current wall thickness.
- The paired edges join at the perpendicular corner.
- The endpoint is ready for the next wall segment.
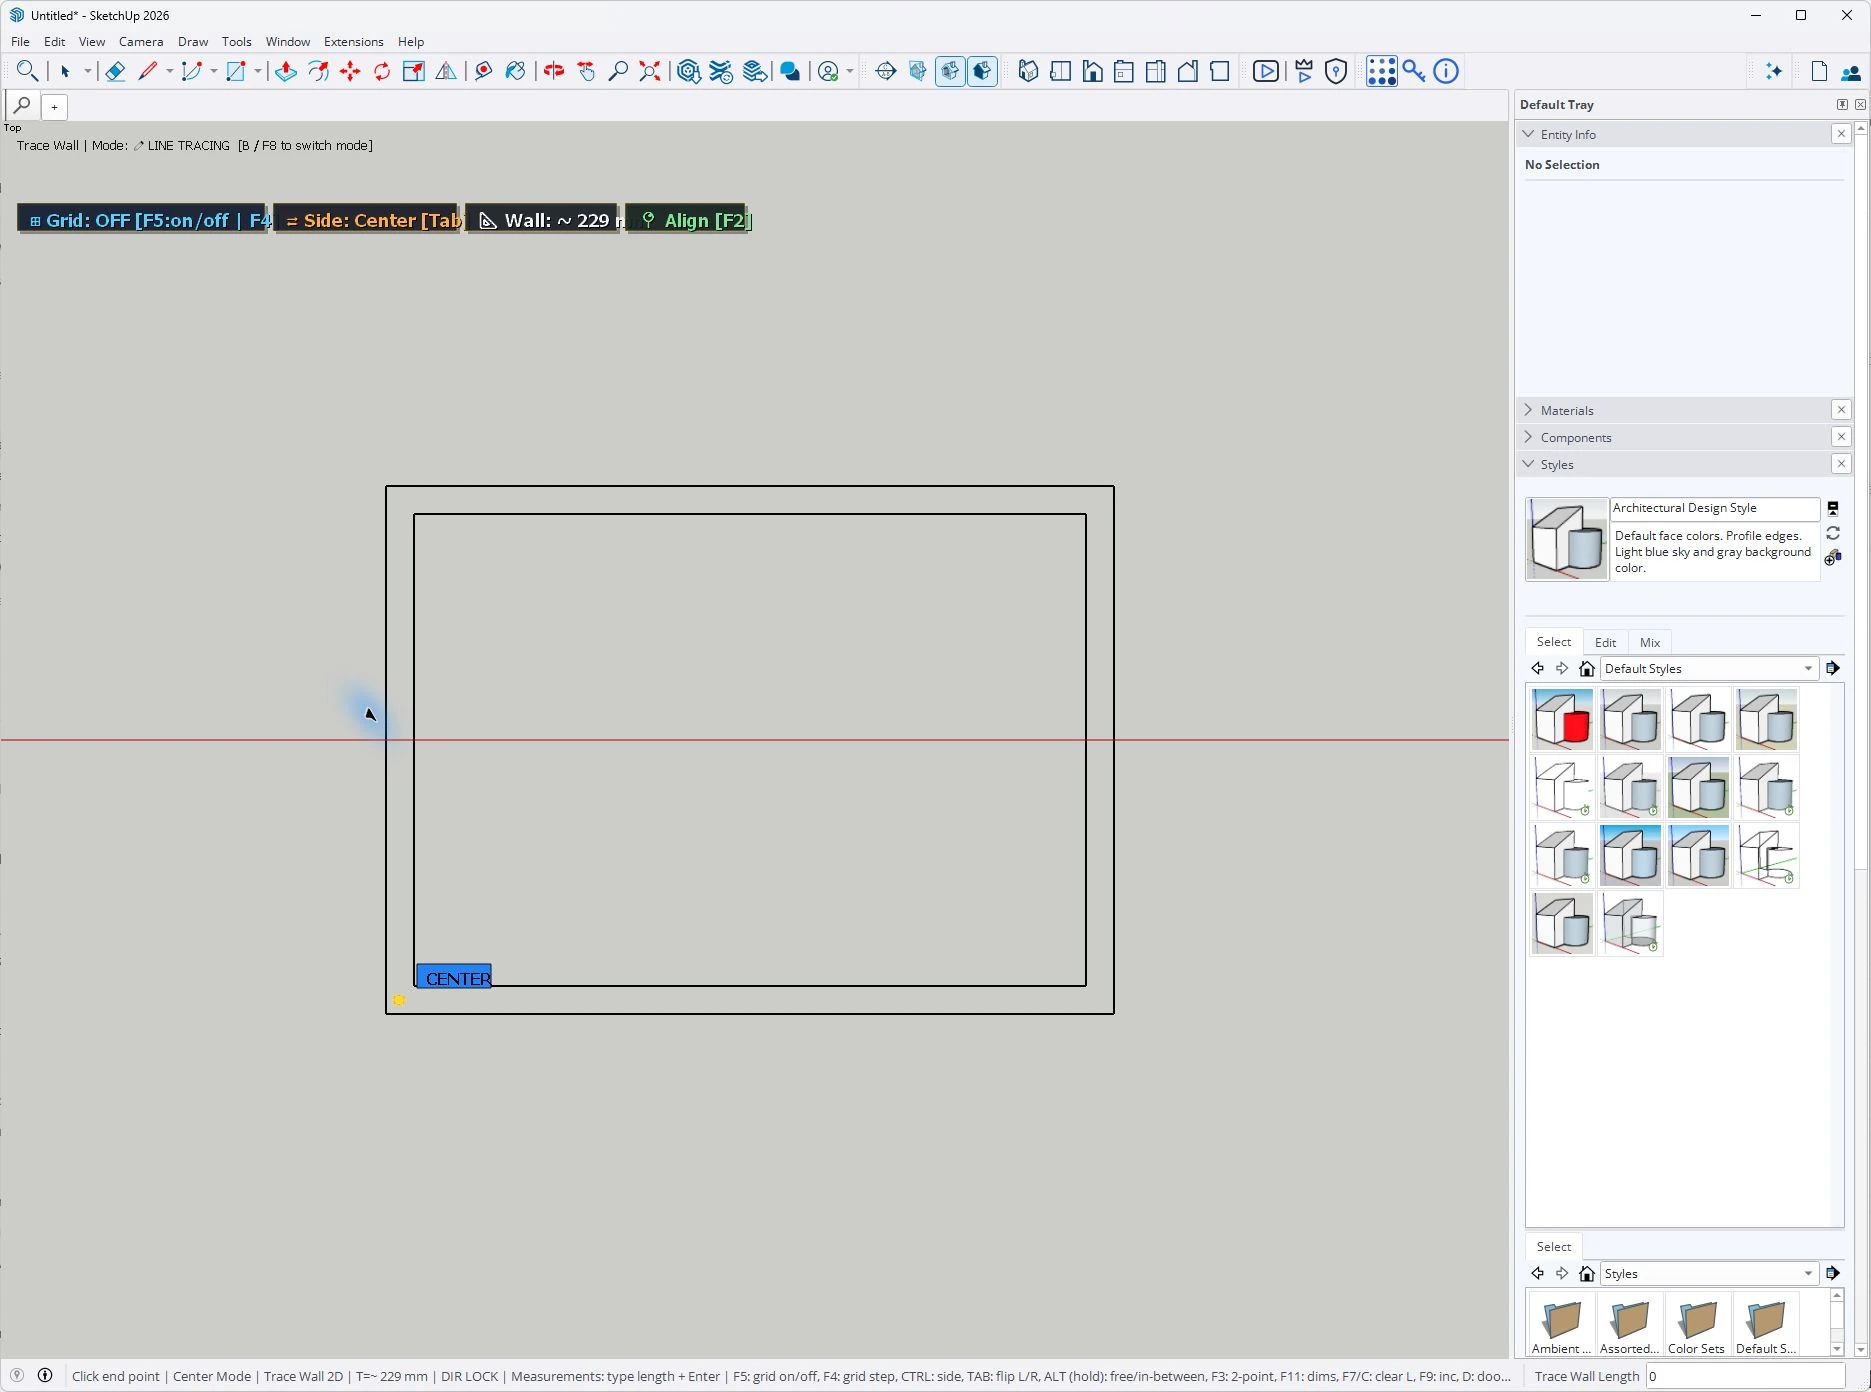
2. Close the wall loop in the same top view
- Two parallel edges describe the wall width.
- The final segment returns to the starting corner.
- Measurements accepts exact values for the active trace operation.
What Trace Wall does
Trace Wall draws paired 2D wall lines for downstream Generate 3D processing. It is the wall companion to Trace Door, Trace Window, Trace Ventilator, and Trace Gate.
Use it over a scaled PDF/image reference or to redraw CAD linework that is not clean enough for direct layer mapping.
Center and side modes
Ctrl toggles center and side mode. Tab flips the active side left or right. Type a thickness in the Measurements box and press Enter; the paired preview updates before placement.
Snapping and exact input
- Shift temporarily straightens the cursor to an axis.
- Alt temporarily allows freehand direction.
- A or F6 toggles 30-degree angle snap.
- F9 sets a reusable length increment.
- C or F7 clears the current typed length override.
- F11 toggles trace dimensions.
Jump-opening markers while tracing
Press D, W, V, or J to arm a door, window, ventilator, or open gap while tracing a wall. These markers stay part of the 2D trace workflow and are consumed during Generate 3D.
