
How do you revise a SketchUp floor plan without rebuilding everything?
Save an accepted baseline, identify the affected wall or opening and check its dependencies before editing. Use the supported editing workflow for that object, preserve unaffected assemblies, then compare geometry, dimensions and saved views. Regenerate only when the change and tool behavior justify it.
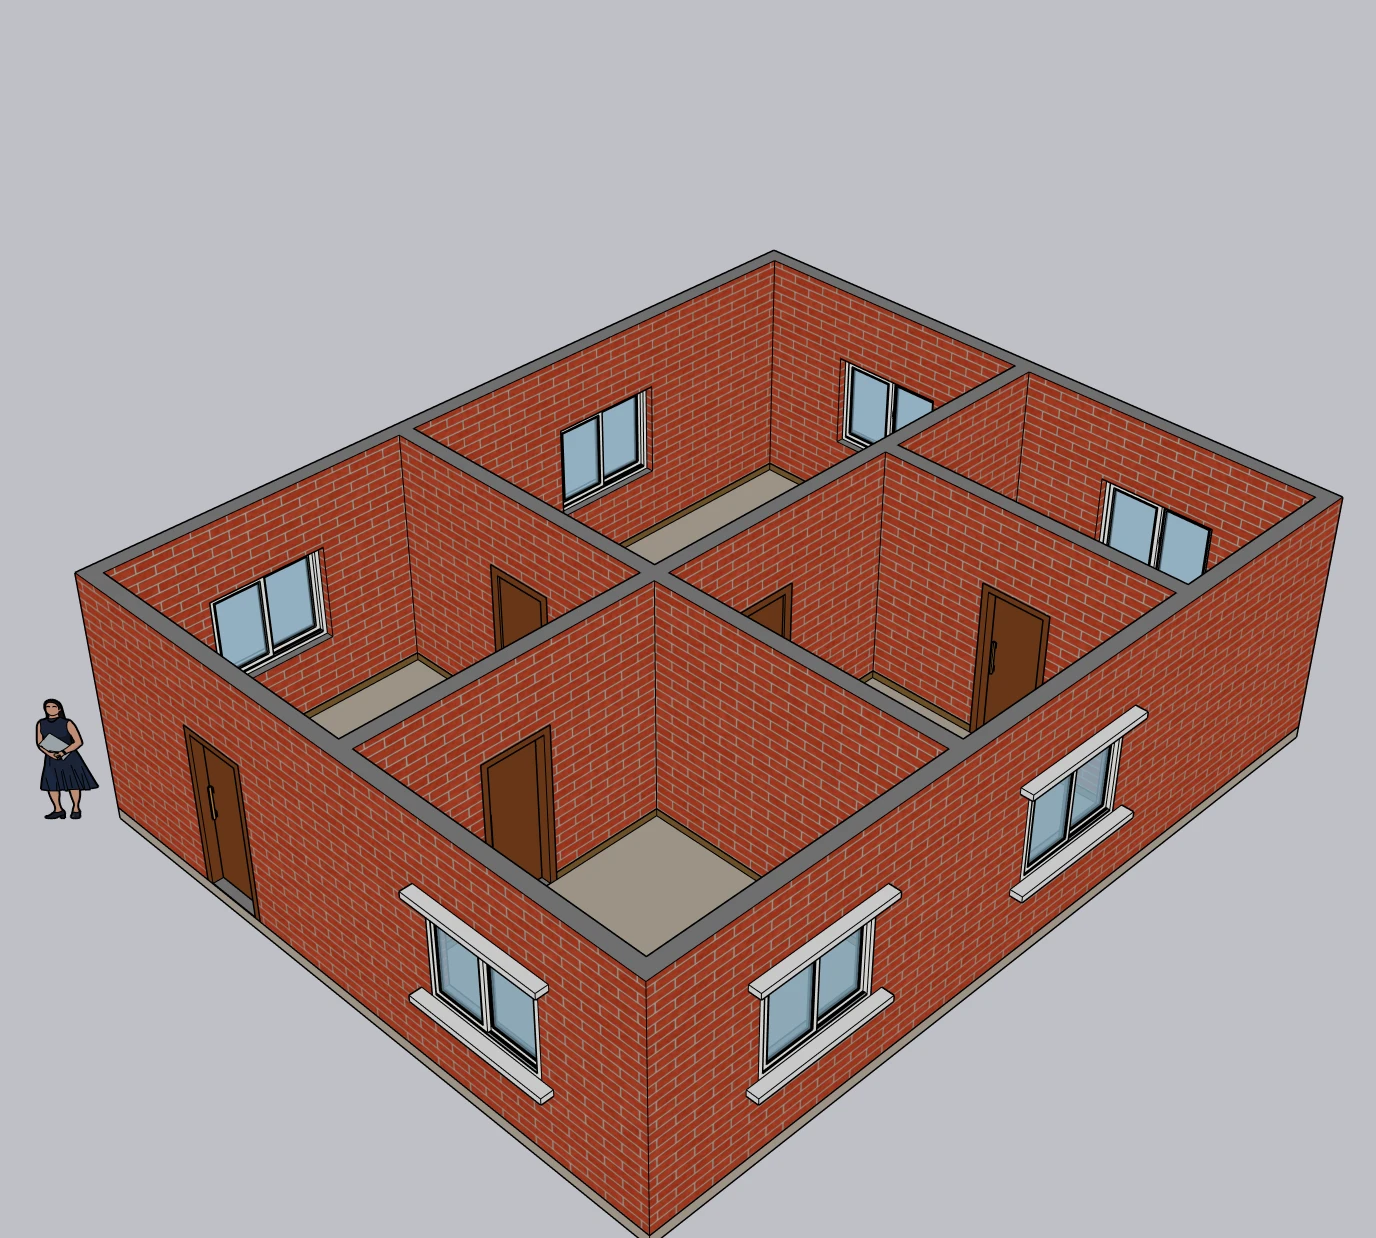
Save a practice copy and identify the partition and hosted opening you intend to revise. Record expected dimensions before editing.
- Identify the specific partition in the change brief.
- Identify the host wall and window that must remain coordinated.
- Choose an unchanged exterior reference to check for accidental global movement.
Checkpoint: Write the movement distance and window alignment rule before using Move or Resize.
About this capture
This is the baseline inspection model. No partition movement or window resize is claimed in this image. Captured live in SketchUp 2026 on October 12, 2026. Numbered markers are page annotations; original pixels are preserved.
The numbered photographs show a separate live Lizark demonstration model. Worked dimensions in the text remain illustrative exercises; the captures are not a measured revision or exchange benchmark.
Treat a revision as a dependency problem
To revise a SketchUp floor plan without starting again, identify the changed objects, establish what depends on them, and verify the affected views before issuing the result. Moving geometry is one part of the work. Knowing which nearby objects should stay put is equally important.
Some changes need local editing; others justify regenerating an assembly or replacing a larger model region. “Without rebuilding” is a goal for protecting unaffected work, not a guarantee that every wall change can preserve every dependent object.
This guide uses an illustrative revision brief: move one internal partition 300 mm, widen one window from 1,200 to 1,500 mm, and leave the exterior building outline unchanged. These are practice-model inputs, not a construction specification or a claimed live Lizark test.
Freeze the accepted starting point
Save a named copy before editing. Record the source drawing revision, model filename and which views represent the accepted design. Keep the revised reference separate from the previous reference rather than placing both sets of linework into one editable container.
Prepare a brief that distinguishes design intent from a tool action:
| Revision item | Required outcome | Must remain unchanged |
|---|---|---|
| Internal partition | Shift 300 mm toward the larger room | Exterior outline and adjacent floor level |
| Window width | Increase to 1,500 mm | Sill height and stated alignment rule |
| Opening finish | Follow the revised opening | Unaffected wall finish elsewhere |
| Drawing views | Show the accepted new arrangement | Scene identities and agreed view scales |
Specify the window alignment rule. “Widen the window” could mean preserve its center, left jamb or right jamb. Those produce different positions. Resolve that ambiguity before touching the model.
List what depends on the change
A partition may own or meet more geometry than it first appears to. A door, skirting return, ceiling edge or finish shell can depend on its position. The dependency list does not need to be elaborate; it needs to be explicit enough that a reviewer knows what to inspect.
For the partition, list the connected walls, any hosted opening, floor or ceiling interfaces, finish layers and nearby furniture clearances. For the window, list its host wall, the actual wall opening, frame, reveals and any dimension or annotation that describes it.
Distinguish objects that should move from objects that should be rebuilt or adjusted. A floor spanning several rooms may stay where it is, while a partition finish must follow the wall. A dimension on a sheet needs review even if the model geometry updates correctly.
Use the organization guide when container boundaries or shared component definitions make the scope unclear. Do not begin an edit inside a repeated definition unless you intend its other instances to change too.
Use arithmetic to remove positional ambiguity
For the illustrative window, preserving its center while increasing width from 1,200 to 1,500 mm means extending each jamb by (1,500 − 1,200) ÷ 2 = 150 mm. Preserving the left jamb instead extends only the right side by 300 mm.
For the partition, identify one stable measurement baseline. Measure the old position and the new position from the same reference. Checking a 300 mm movement between arbitrary selected points can be misleading when the wall face, centerline and finished face differ.
Write the expected measurements before performing the change. That makes the check independent of whatever the editing operation happens to produce. Keep metric and imperial inputs explicit; a change brief should not depend on the display format alone.
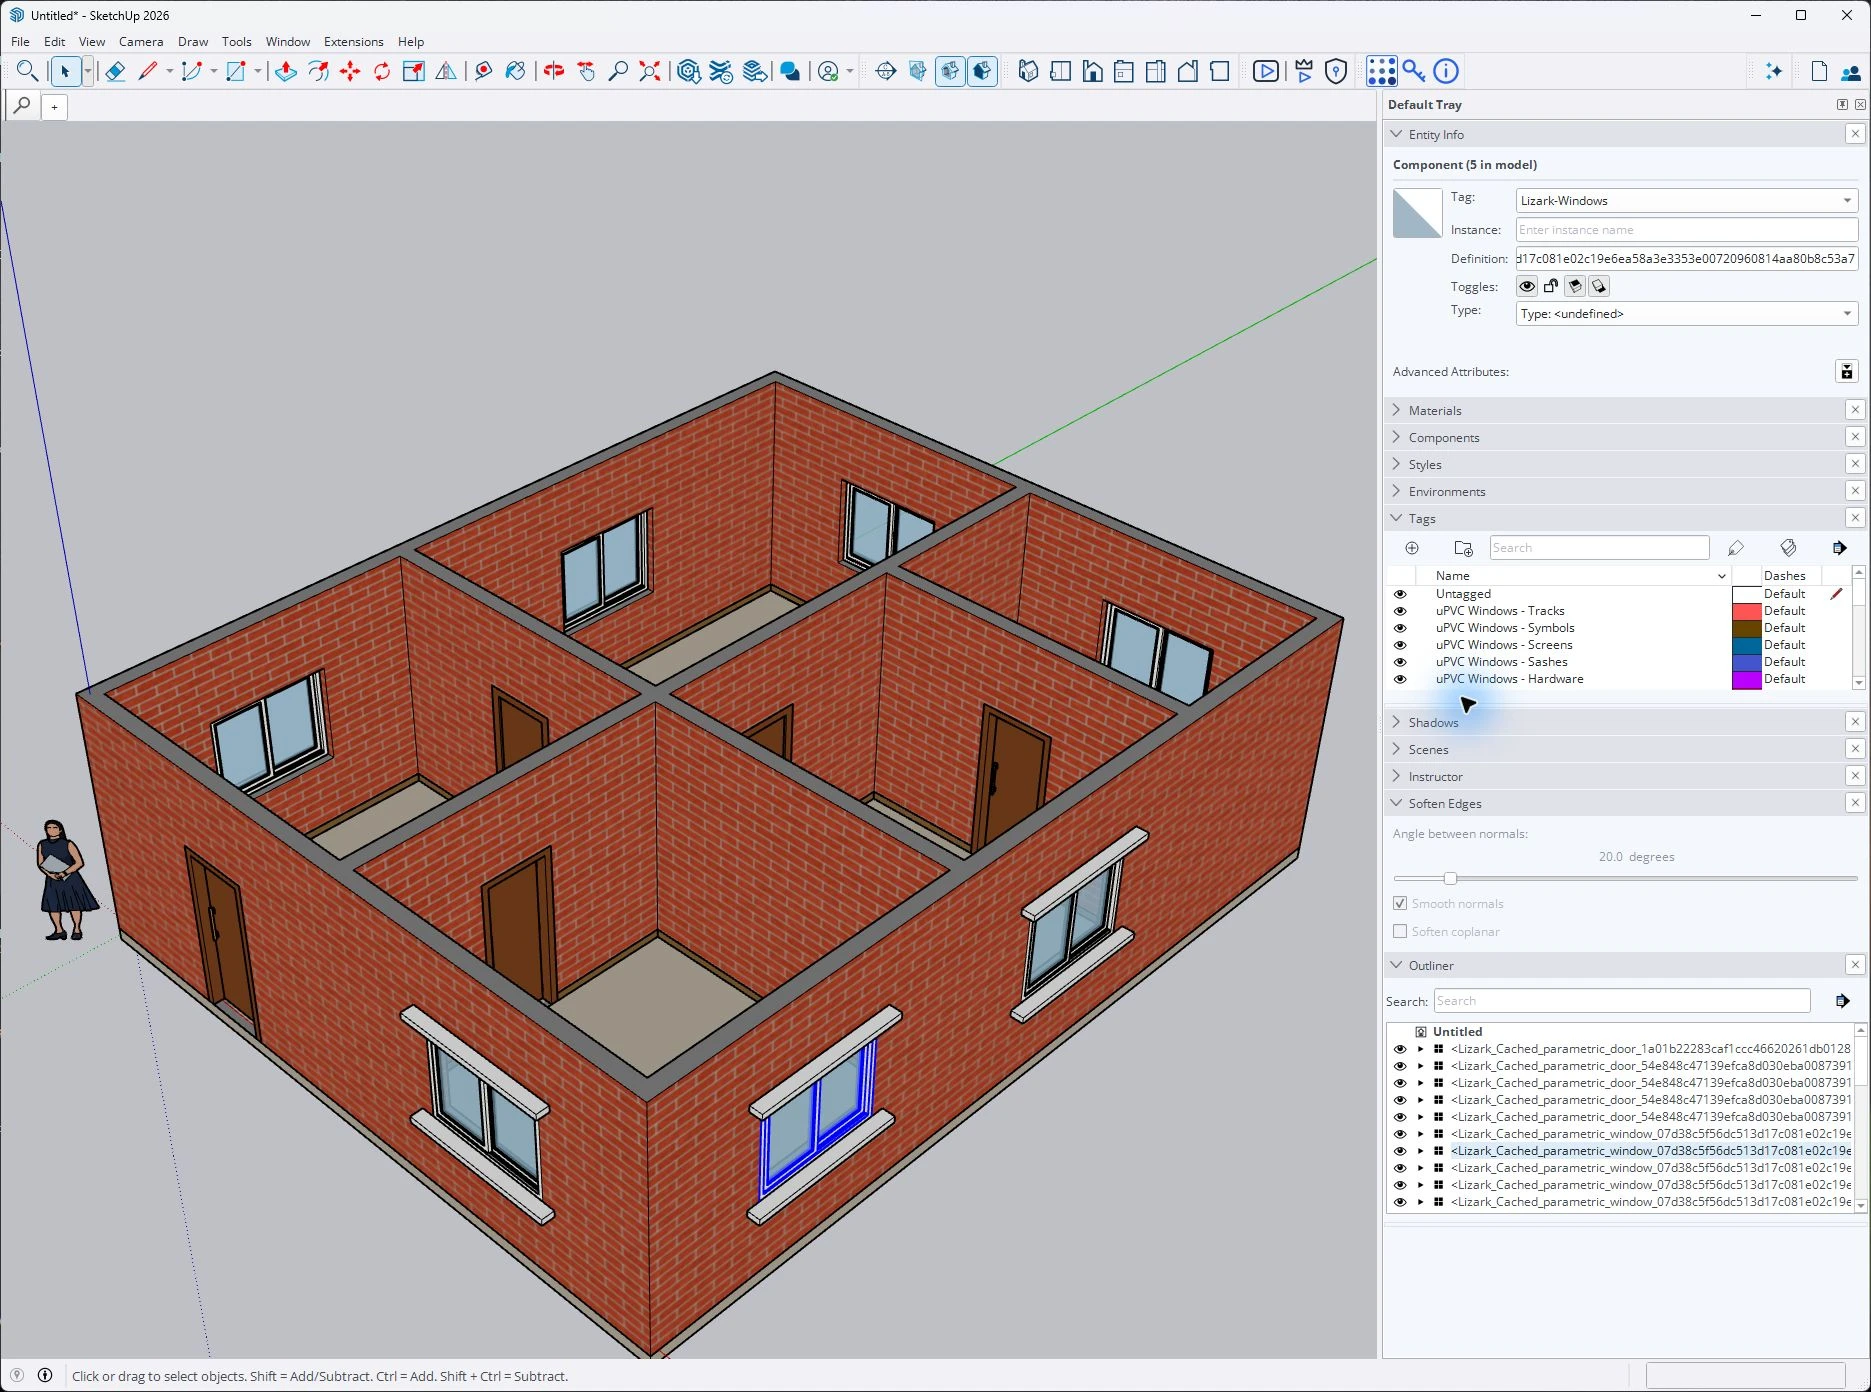
Select the intended opening component and inspect its definition and tag. Use the documented Lizark opening workflow on a saved copy.
- Confirm that the highlighted window is the intended revision target.
- The component instance count warns that shared definition edits may affect other objects.
- Inspect the surrounding host opening as well as the visible frame.
Checkpoint: Check whether other instances share the definition and inspect the host wall after any edit.
About this capture
The selected window is highlighted before an edit. This is not a before-and-after resize comparison. Captured live in SketchUp 2026 on October 12, 2026. Markers are page annotations; original pixels are preserved.
Choose local editing or controlled regeneration
In a native SketchUp model, establish the correct editing context and select the intended geometry or object. Inspect the result after a small change before repeating it. A window component and the hole in its host wall are different things unless the model’s specific behavior links them.
With Lizark, use the documented tool for the relevant wall or opening rather than treating generated assemblies as anonymous geometry. Consult the Lizark tutorial library for the installed workflow. Preserve ownership and test the change on the saved copy first.
Do not assume that a native transform, an opening resize and a generated-model update have identical consequences. If a tool cannot preserve a dependent layer or junction, rebuild the affected region deliberately and record that work. A controlled local rebuild is preferable to leaving geometry that only looks correct from one angle.
This article does not claim that every Lizark revision automatically updates finishes, hosted objects or drawing annotations. Those relationships must be verified for the actual model and tool version.
Review in plan, section and perspective
Use several views because each reveals different mistakes. The plan view establishes location and clearances. A section helps identify vertical misalignment and layered surfaces. A perspective helps reveal incomplete corners or geometry that was hidden in the first two views.
| Review view | Partition check | Window check |
|---|---|---|
| Plan | Movement matches baseline; junctions meet | Width and alignment match the brief |
| Section | Height and floor/ceiling interfaces agree | Head and sill heights remain correct |
| Perspective | No detached finish or unintended overlap | Frame, opening and returns agree |
| Drawing sheet | Dimensions describe the new arrangement | Labels and annotations still apply |
Check one unchanged control object too. For this exercise, measure the exterior reference width before and after the revision. That does not prove that everything else is unchanged, but it gives a useful control against accidental global transformations.
Review scenes and documentation separately
Saved views can carry camera, visibility and section properties. Geometry changes do not remove the need to inspect those view settings. Revisit the scenes used for issued drawings, especially when a changed wall approaches a section plane or an object appears under a different tag.
SketchUp’s scene documentation explains which properties scenes preserve. For drawing output, follow the plans, sections and elevations guide and inspect both the model and sheet.
Record the revised measurements, the objects checked and any remaining exceptions. Use the revision acceptance checklist as a small change log. Save the accepted result under a new revision identity; do not make the old filename silently represent a new design.
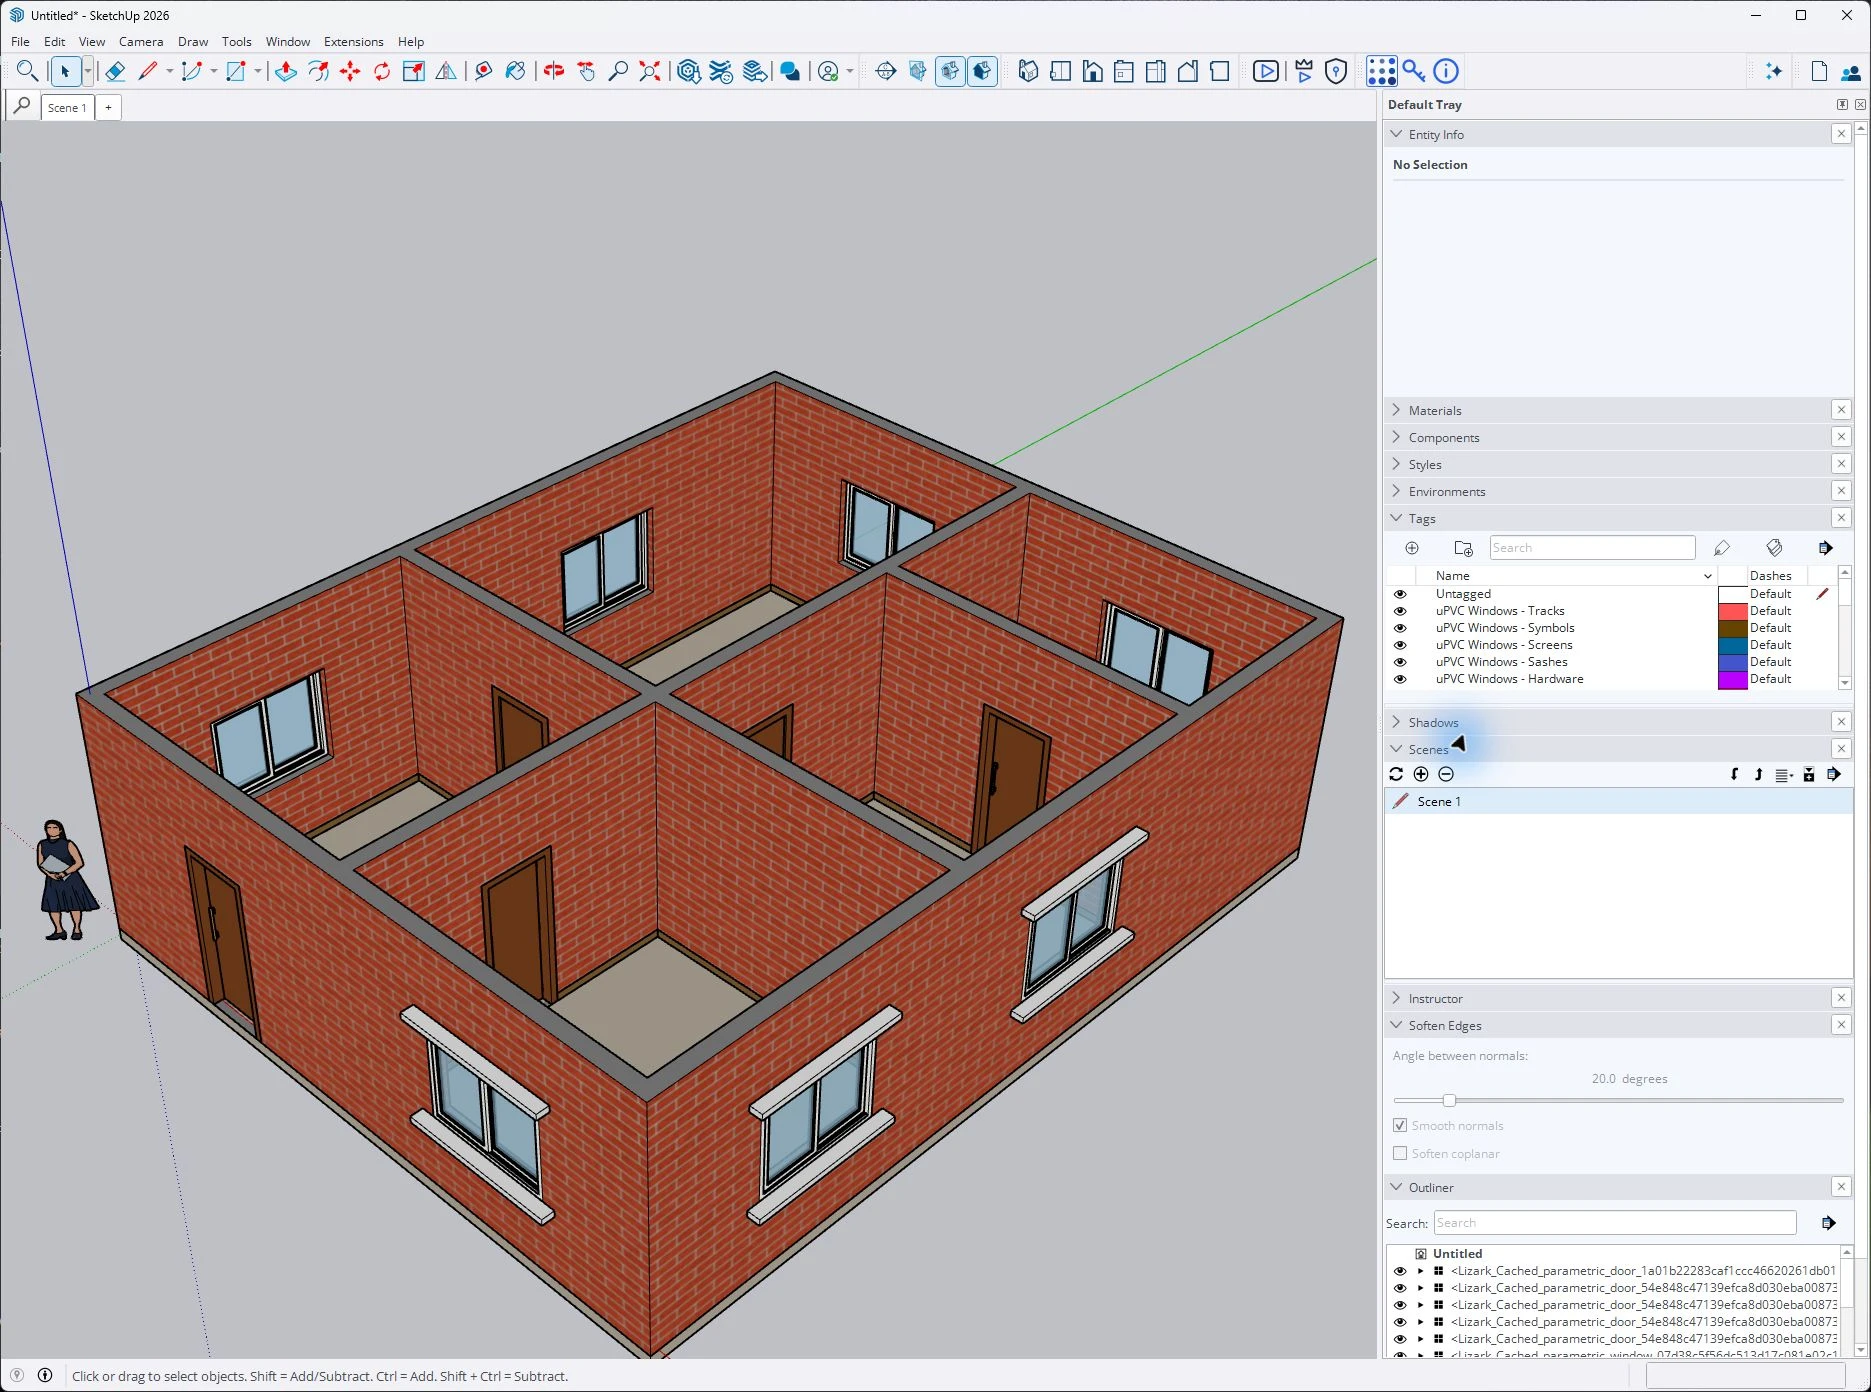
Save a scene for the review camera and visibility state. Return to the same view when comparing the revised model.
- The scene tab returns to the saved view.
- The Scenes list identifies the same saved scene.
- Scene controls manage saved views; review the properties you intend to update.
Checkpoint: Review geometry and annotations separately. Do not save a temporary inspection state over an issued drawing scene.
About this capture
Scene 1 is a saved Perspective review view; it does not certify any revision outcome. Captured live in SketchUp 2026 on October 12, 2026. Markers are page annotations; original pixels are preserved.
Questions about preserving work
Can I move a window and assume its opening follows?
Only after checking the behavior of that specific assembly. Review the host opening as well as the visible frame.
When should I rebuild instead of edit?
When the existing object relationships cannot reliably represent the new design. Keep the rebuild scope explicit and compare it with the same acceptance checks.
Should I update every scene after any change?
Review all deliverable scenes. Update their saved properties only when those properties should change; avoid accidentally saving a temporary review state into an issued view.
