
What Draw Wall does
Draw Wall is the core Lizark tool for interactive wall creation. Click a start point and an end point and the tool extrudes a wall with your chosen thickness and height. You can chain segments, close rooms, snap to existing geometry, and insert openings - all without leaving the SketchUp viewport.
Starting the tool
Launch Draw Wall from the Lizark toolbar or menu. The first time it activates, it reads the default wall thickness and height from your configuration. If those values are missing, the tool prompts you to set them.
The cursor becomes a CAD-style crosshair. Move over the model and the status bar shows the current thickness, height, snap state, and available shortcuts.
Drawing your first wall
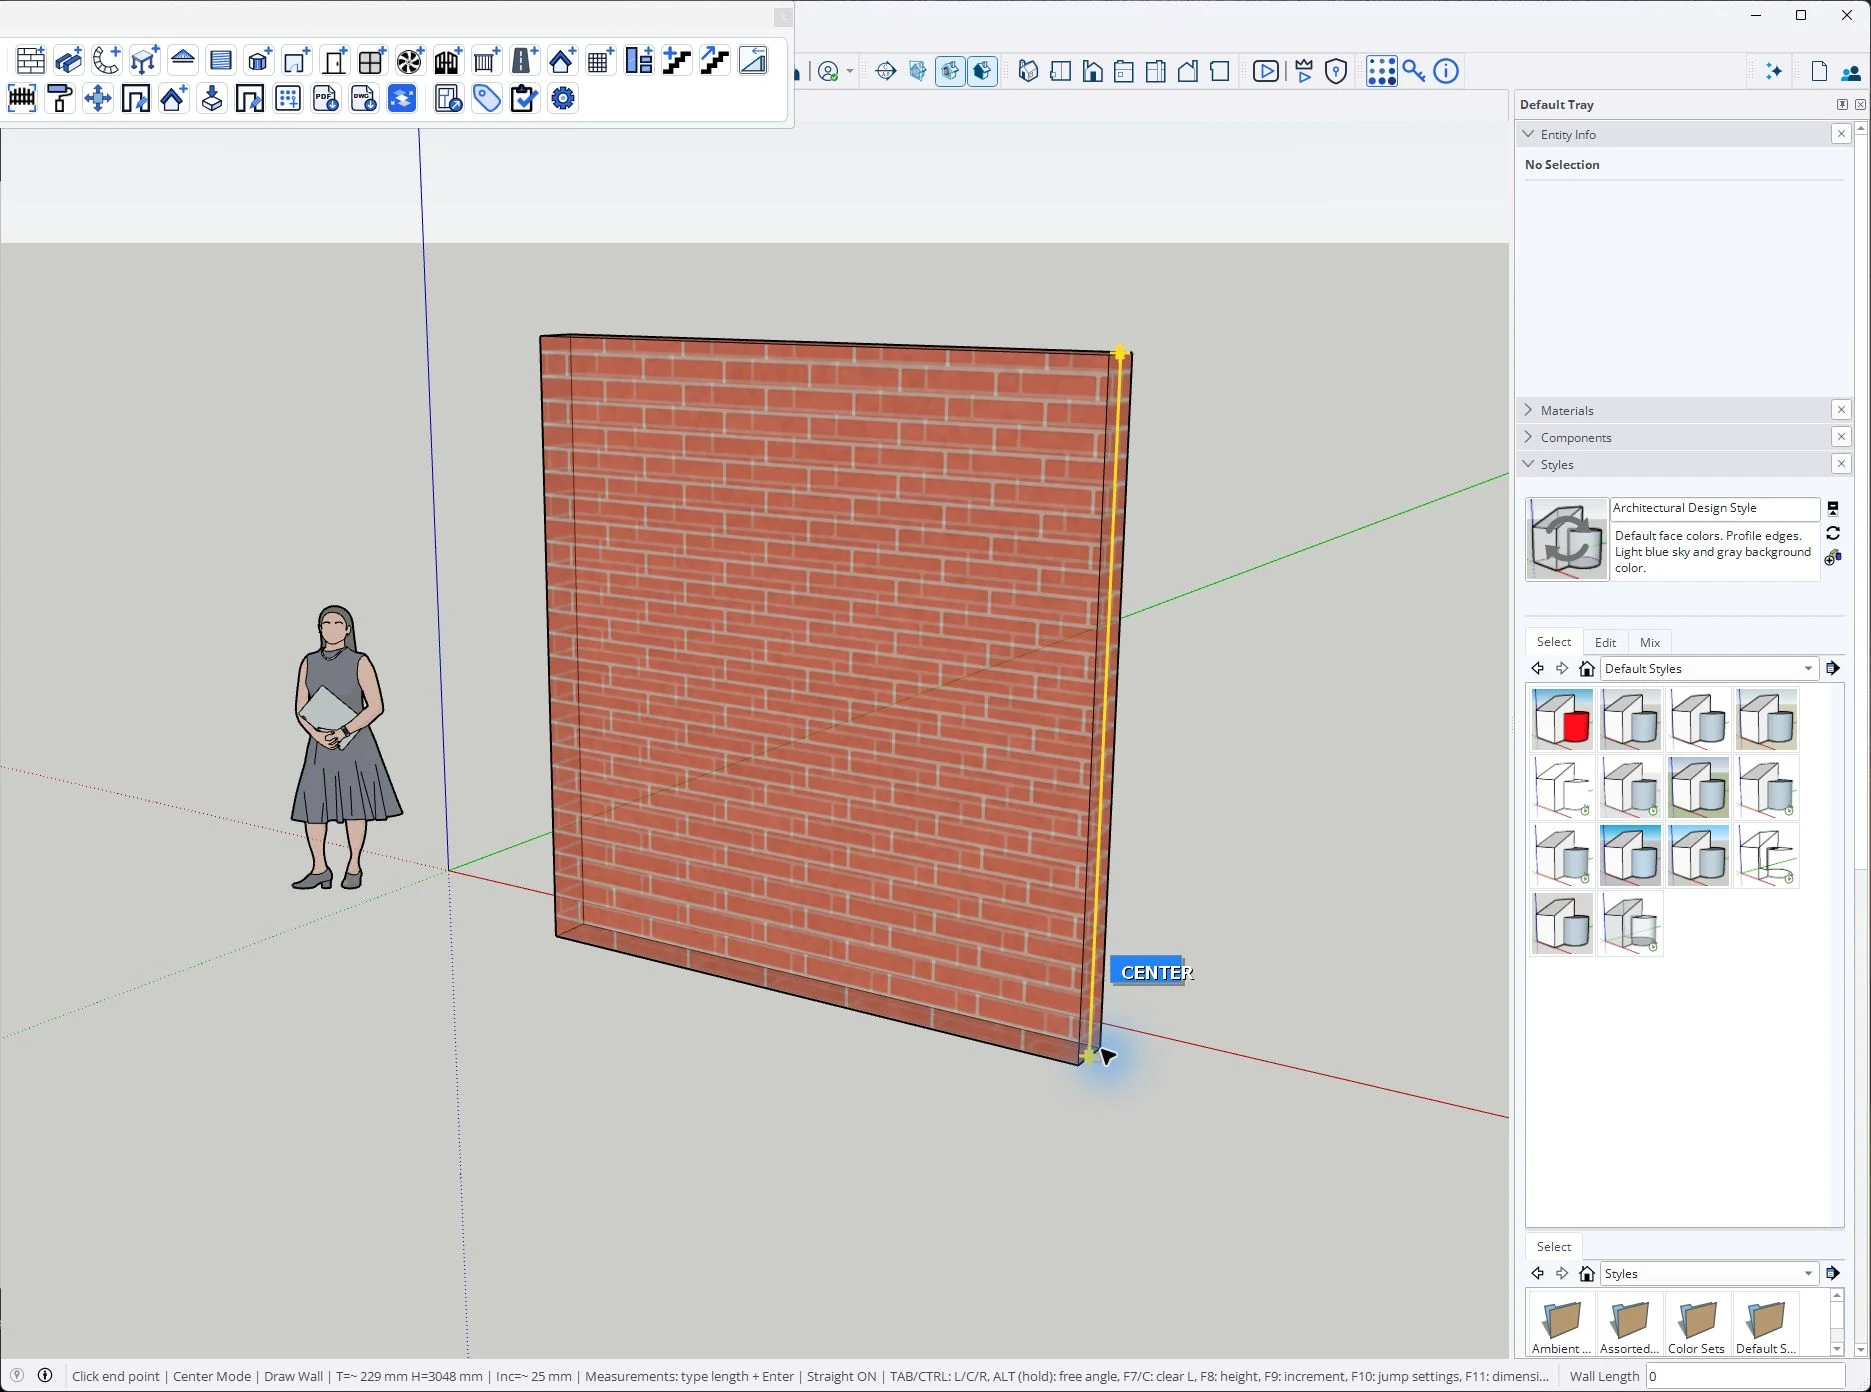
Click once to set the start point. Move the cursor and click again to set the end point. A wall is created instantly as a grouped component on the Walls layer.
While you stretch, a large yellow dimension HUD appears in the viewport (top-left and mid-span) with the live length. You can type an exact length into the Measurements box (VCB) before the second click to override the segment length. Type clear or press C / F7 to remove the override.
Chaining walls and closing rooms
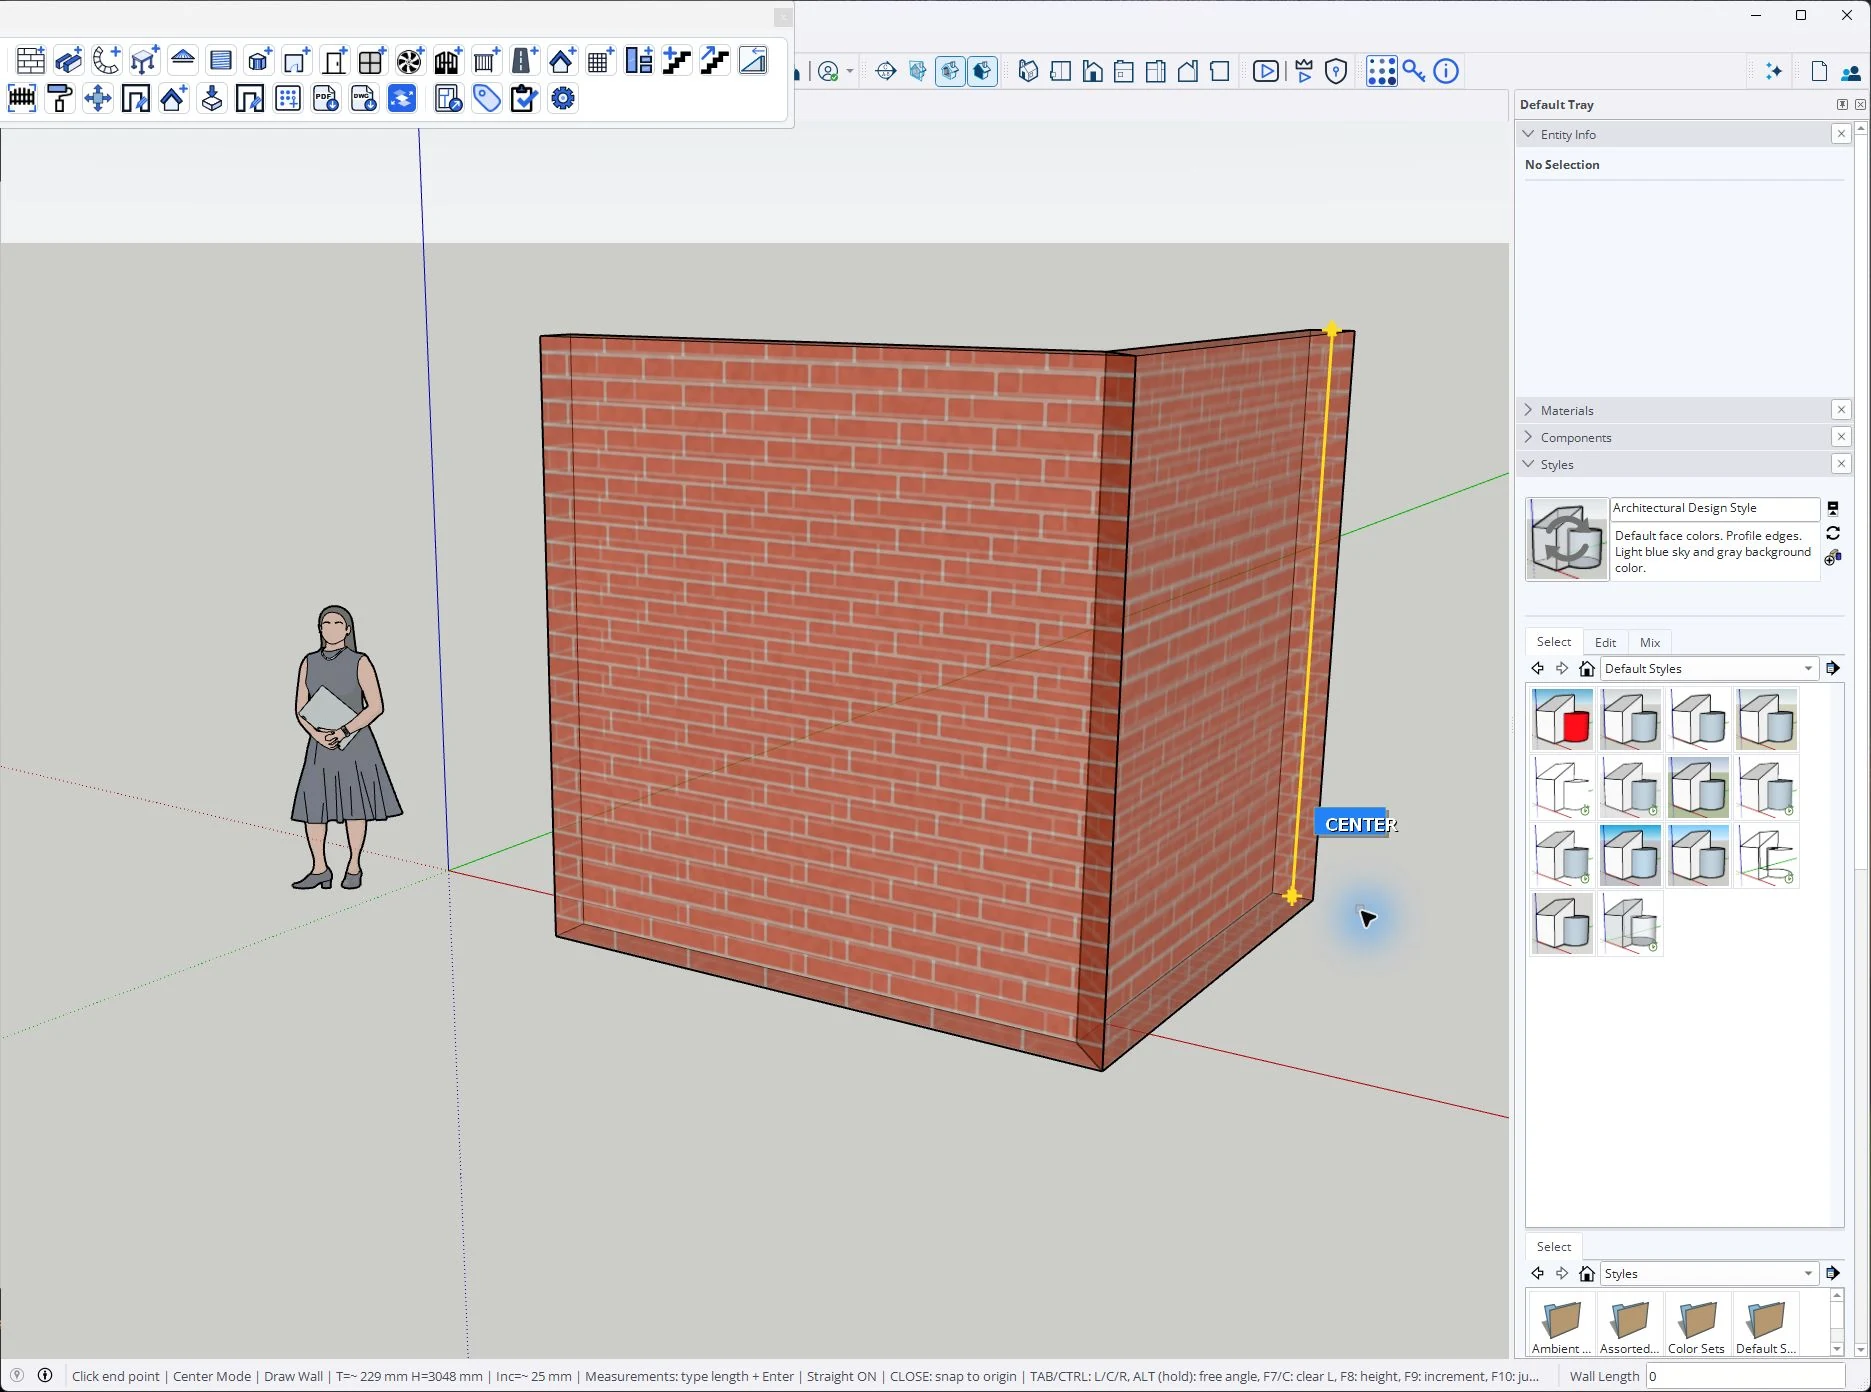
After the second click, the tool keeps the same endpoint as the start of the next segment. Keep clicking to trace an entire floor plan. Walls are joined and mitered automatically.
Move the cursor back near the original start point to see a green close-snap ring. Click to close the room seamlessly. This is the fastest way to turn a set of lines into a fully enclosed plan.
Side mode: left, center, and right
By default the wall is drawn centered on your cursor path. Press TAB or CTRL to cycle between Left, Center, and Right side modes. The side label appears next to the cursor so you always know which side of the reference line is being used.
Use side mode when you need the inside or outside face of a wall to align precisely with an existing edge or grid line.
Constraining the cursor
Hold Shift to straighten the cursor to the nearest horizontal or vertical axis. The constraint is relative to the start point, so you can draw perfectly orthogonal walls quickly.
Hold Alt to temporarily disable angle snapping and draw freehand. Release Alt to return to the current snap settings.
Press F6 or A to toggle the 30° angle snap on and off. The status bar shows Snap30 ON or Snap30 OFF.
Live HUD and Measurements box
While stretching a wall, Lizark shows a large yellow-on-dark HUD chip with the live length so dimensions stay readable at any camera angle. The Measurements box (VCB) mirrors the same length for typing.
When no wall is being drawn, the Measurements box shows Wall Thickness. Type a value such as 6" or t=6" to change thickness.
Press F8 to switch to height mode, then type a value such as 9'0" or h=108" to set the wall height. The F9 key opens the length increment popup for stepping lengths by fixed amounts.
While drawing, type a positive length and press Enter to lock the next segment to that exact value.
Snaps and visual indicators
Green ring - close snap to the chain origin. Use this to close a room.
Yellow X ring - snap to an existing wall endpoint for a clean L-junction.
Cyan tee - snap to the mid-span of an existing wall for a T-junction.
Orange corner track - parallel-corner tracking that helps you align the final closing wall with the first wall of the chain.
The indicator colors are always visible, even in oblique or top-down views, so you can model from any camera angle.
Adding openings while drawing
Draw Wall can insert jump openings between two clicks. Arm the mode from the keyboard, then draw the segment that should contain the opening.
J - door jump with preset sizes (single, double, narrow, wide).
W - window jump. Pick a type such as standard, french, sliding, hung, awning, casement, panoramic, picture, or uPVC styles.
V - ventilator jump. Louvered and split-louver styles are available.
I - open gap / skip. Creates a plain opening with no frame.
Press F10 to open the jump settings dialog and customize heights, sills, and default sizes.
Undo, clear, and exit
Press Backspace to undo the last chained segment. The geometry is removed and the tool continues from the previous point.
Press C or F7 to clear a pending length override.
Press ESC to cancel the current operation, merge the completed chain, and return to the SketchUp select tool.
